Some of the links below may be affiliate links. This means that, at zero cost to you, I will earn an affiliate commission if you click through the link and finalise a purchase. All product recommendations are products that I have used and loved, or products that I would recommend based on experience.
Teaching strategies that optimise student learning and curriculum outcomes
Teachers across the globe are constantly thinking about strategies that will simultaneously keep students engaged and meet curriculum outcomes. If you are home schooling, this will be no different. As educators we all lament the overcrowded curriculum and know that the only way to cover the content is to integrate learning across multiple areas of the curriculum. But how do you do that?
My step by step guide will help you integrate inquiry learning into your teaching practice, ensuring your students are engaged, happy and learning!
The most valuable teaching strategies for students’ engagement and learning
An integrated curriculum
This is when your planning and teaching covers more than one subject area or curriculum outcome in a single learning activity. Killing two birds with one stone so to speak. For example, you would explicitly teach and model to your students in Year 2 how to write a report, you would then also teach Growth and Change lifecycles in Science using different strategies. The children then write a report on a chosen living plant and animal using the report writing structure you taught them in their writing lesson. You have now combined English report writing and Science thereby reducing your teaching load. Yippee!
Inquiry, Direct or Explicit Approach?
There is always much debate around which approach produces the best results. Many “experts” state that teachers should be teaching children through Direct and Explicit strategies. There is evidence to suggest that Direct Teaching assists children from lower socio-economic groups or poor performing schools to improve student learning.
Direct Instruction for those that might not know, is teaching from a pre-determined script. These are usually related to phonics and language teaching. Of course teaching from this model will at the very least produce some learning. It’s better than nothing! However, this is only one part of the pedagogical puzzle.
Explicit teaching is when you are explicitly explaining and modelling through a step-by-step approach exactly what students are required to do or know. This is the approach all teachers should be taking when teaching new content or skills. Children only know what to strive for or improve their knowledge or skills if they know what is expected from them.
Inquiry-based teaching allows children to build new knowledge and skills over a series of phases. This strategy actively engages students in the learning process, facilitates collaboration, and helps children to formulate conclusions through investigation, questioning and problem-solving. As an educator with first-hand experience using an integrated inquiry approach to teaching and learning, I can state categorically, that this is the best approach if you truly want to engage children in higher order thinking skills, collaborative learning, and investigation and above all a love for learning!
How do you integrate inquiry learning into your planning?
Take one step at a time and soon you will be amazed at the positive attitude of your students towards learning! Isn’t that the goal of every teacher? To want their students to love learning. One of my favourite Inquiry Teaching specialists is Kath Murdoch https://www.kathmurdoch.com.au/ you can check out her website for tons of information on inquiry teaching.
I always find that integrating Inquiry with Science to be the easiest. This would be a great place for you to start if you are new to this strategy. There are lots of different strategies you can use in each phase, but to get you started I am going to keep things simple as you should too when you are starting out.
The most important thing to know is that you must teach each phase of the process through explicit modelling. Students can only be successful at the process when they know exactly what to do, and how to do it.
A step by step guide to successfully integrate inquiry teaching:
Firstly I need to remind you that inquiry, is not a seperate subject, or something you do on a Wednesday afternoon after lunch. Inquiry is a way of teaching. It is a mindset. It’s seeing those moments when you can ask a question to stretch a child, to encourage them to think deeper and solve a problem on their own, with some scaffolding from you of course, but the adult NEVER steps in and solves the problem. Our job is to help them find the answers, not give them the answers. Our job is to facilitate.
BUT.
If you are new to inquiry, and while you are indeed become an inquirer yourself, having some structure and scaffolding to get you started is really helpful. One of the best ways to get started with integrating inquiry into your planning is to follow the steps that follow.
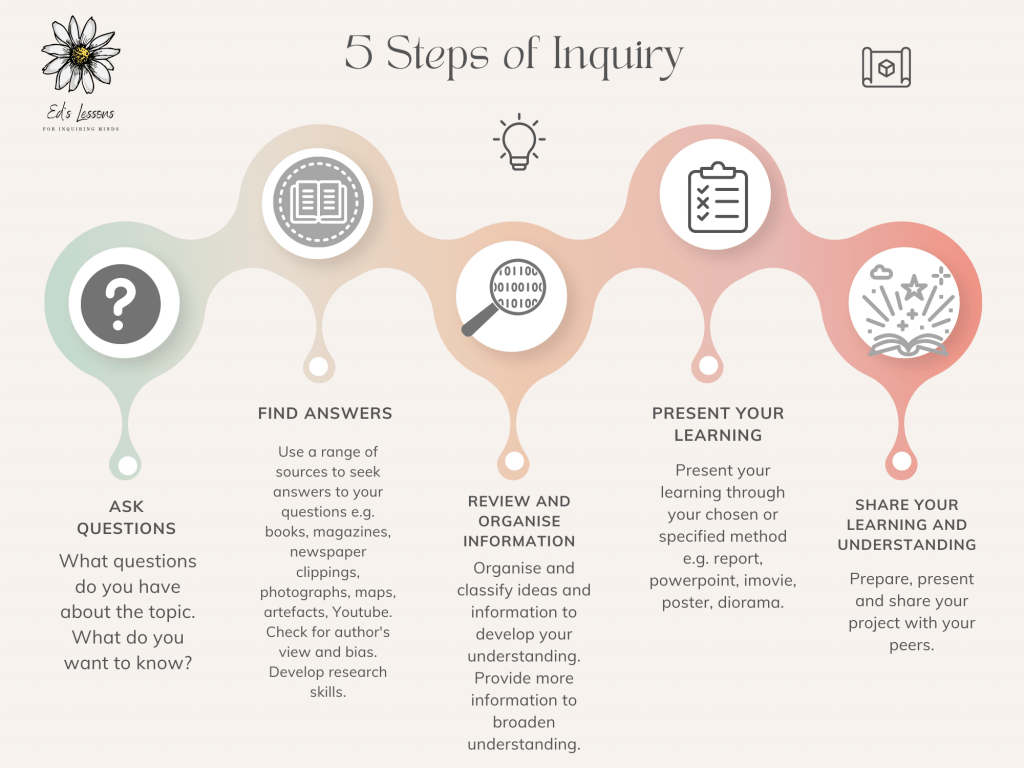
1. Select your topic (Usually from Science, HASS, Health or Technology), this will drive your unit.
2. Start the inquiry sequence with a tuning in strategy like a KWL chart or a brainstorm. For the purposes of this post let’s say our topic is Australian Animals. This is where you want to find out what the students already know about the topic. I like to have a large piece of butcher paper to scribe all their responses using coloured marker pens. There are of course lots of different strategies and ideas you can use to gain this information either through small group or whole class brainstorms. You can prompt students using open ended questions to get more information. See (LINK)
3. Once you feel you have sufficient information, move on to the next step which is where you model questioning. In our example of Australian animals, pick one that you can use to model the process. You can either use a mind map or a two-column chart (questions and answers) to record questions about the topic/animal. Students are then asked what questions they have about the topic, in this case the specific animal. What do they want to know? Record the questions on your large sample mind map or chart.
Before the students come up with questions on their animal, you as the facilitator will need to have some organisational tools in place.
- You will need to decide if you want the children to work in pairs or individually. Obviously working in pairs will mean that students learn to collaborate. You will have to explicitly teach students HOW to collaborate otherwise you will find one student doing all the work while the other one is uninvolved. If you decide they are going to work in pairs, how are you going to pair them? At the start of the year when I don’t know my students, I usually ask them to pick a partner. Be on the lookout for students that are not picked immediately as you may have to do the pairing. If you have an odd number of students, then there will be one group of three. Use whichever strategy you prefer to group students.
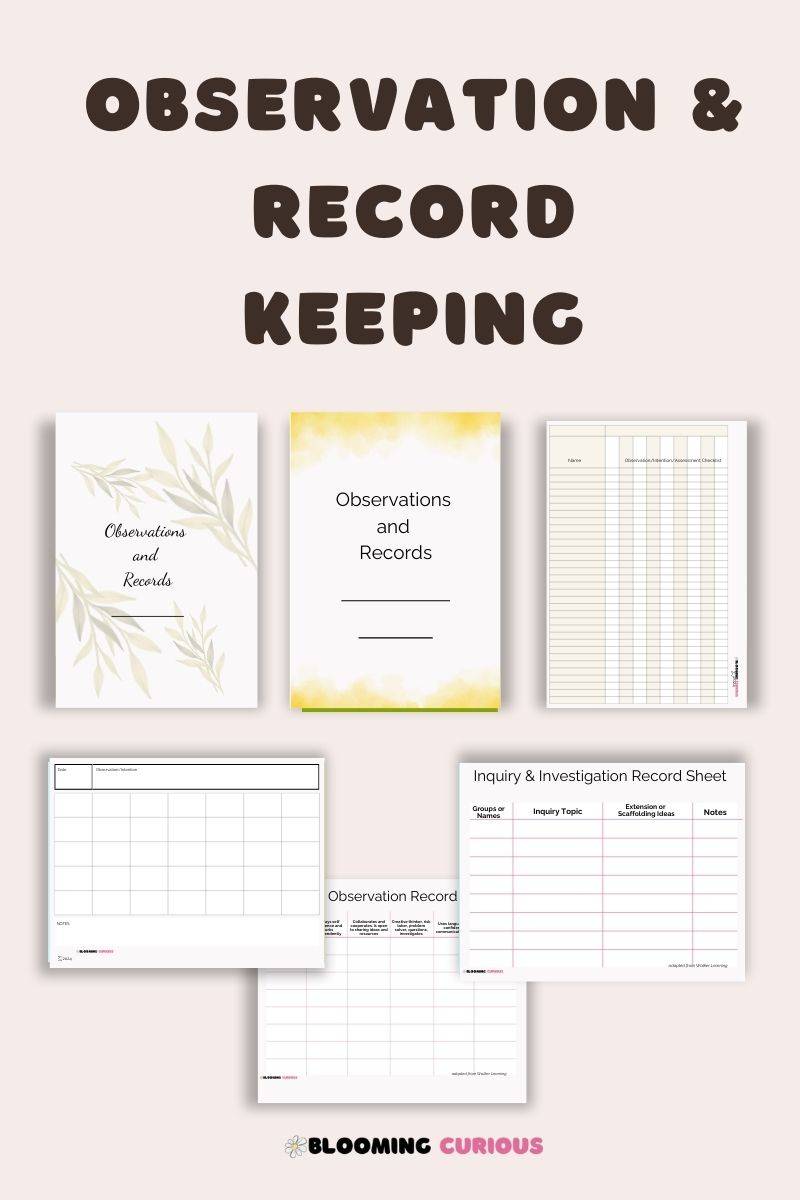
- You need to document in your observation or record book which topic/ animal individual or pairs of students have decided to learn about.
4. Now it’s the students’ turn. In true individualised learning each student picks their own Australian animal that they would like to learn about. In effect, a class of 25 students might be learning about 25 different animals or in pairs, 12 different animals, instead of the whole class just learning about one animal. How great is that?! You can either give students a template or they simply copy your example and create their own chart or brainstorm in their relevant subject book. Students then record all the questions they have about their chosen animal. I usually ask students to record all their questions in one coloured pencil or marker.
Steps 1 to 4 will probably happen over one or two lessons.
5. The next step is looking for the answers to the questions that were posed. Once again using the example you chose to model learning, have your questions clearly on display. Incidentally, as you are modelling the inquiry process, you are also covering the curriculum content in Science about that animal. You also need to have the sources you are going to use available, to find the answers to your questions e.g. books on the topic or a child-friendly website. Ask children to be listening and looking to see if the answers to any questions that were asked, come up as you read. This is your opportunity to explicitly teach children research skills and looking for answers in a text. This step can also be done in your small group guided reading rotations during your Literacy block which is the method I prefer.
As I read through the information, I record the answers to my questions in a different coloured marker or pencil beside or below the question (depending on whether I used a chart or mind map). I model using my own words and not plagiarising from the text when I write the answers.
6. Students engage in inquiry and look for answers independently. Once you have completed your modelling of how to search for the answers to the questions, students find the answers to their own questions. While students are working you circulate around the room and scaffold where you need to, all the while keeping the age of the students in mind. If this is their first attempt at inquiry go slowly, remember that it is a process, and the students, just like you will get better at it, each time a new topic is studied. This phase might take several weeks to complete. Each student or pair is working at their own pace.
In your organisation, you will have that list of the topics the pairs or individual students decided to study, so make sure you have a selection of books available on all their chosen topics. Additionally, if you are using technology for research, you should have child-friendly search engines or apps installed and available to use.
If this is the first time your students are using iPads or computers for investigation, you will have to ensure that students have been taught how to use the technology appropriately before your independent inquiry session.
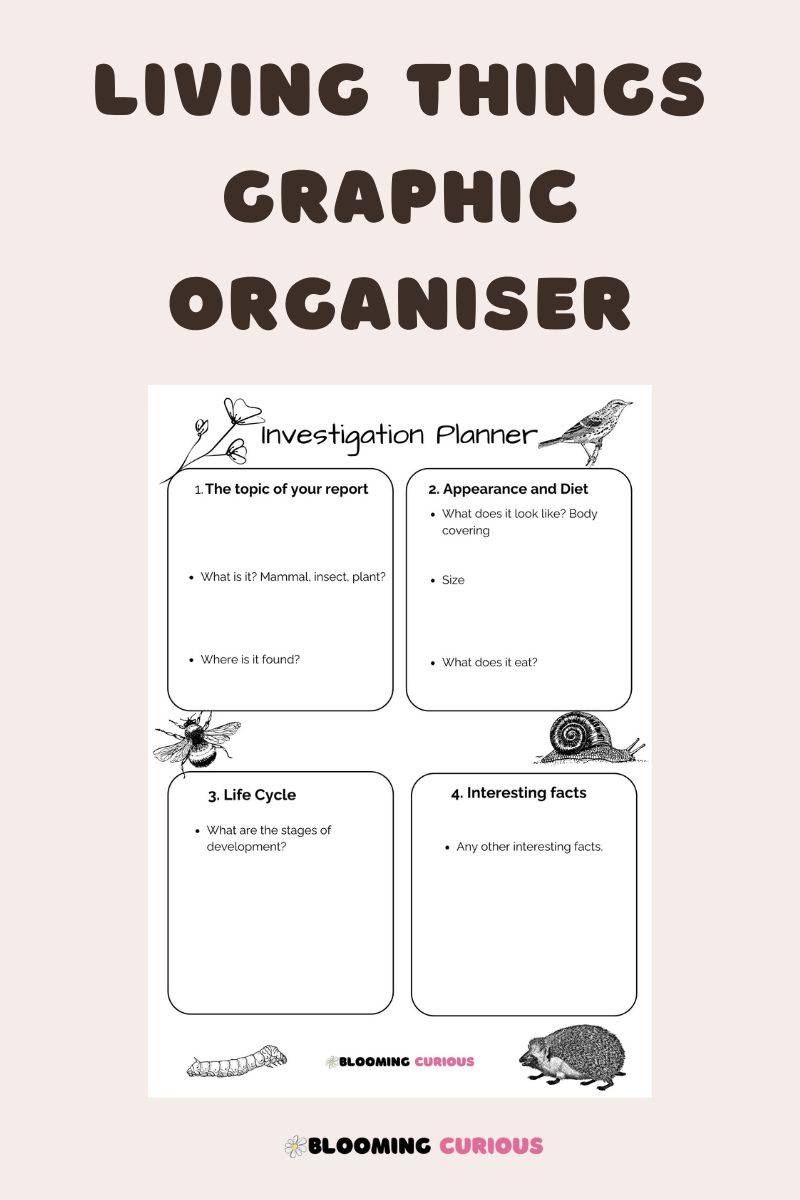
7. In your next lesson you return to your example where you recorded the answers to your questions. Now students will learn how to organise the information they have gathered. A note of warning: some students will simply start writing a paragraph, mostly copying from the text. Ensure you constantly reinforce the inquiry process and that your modelling needs to be followed. In reminding students of the inquiry process, have all your working examples displayed so that students can refer to them as they work. To help students organise the information they will need a graphic organiser. Use an enlarged A3 copy of the graphic organiser to model the process. The graphic organiser will have sections (related to paragraphs) under which students transfer their gathered information. Once you have modelled this process, students apply this to their own projects.
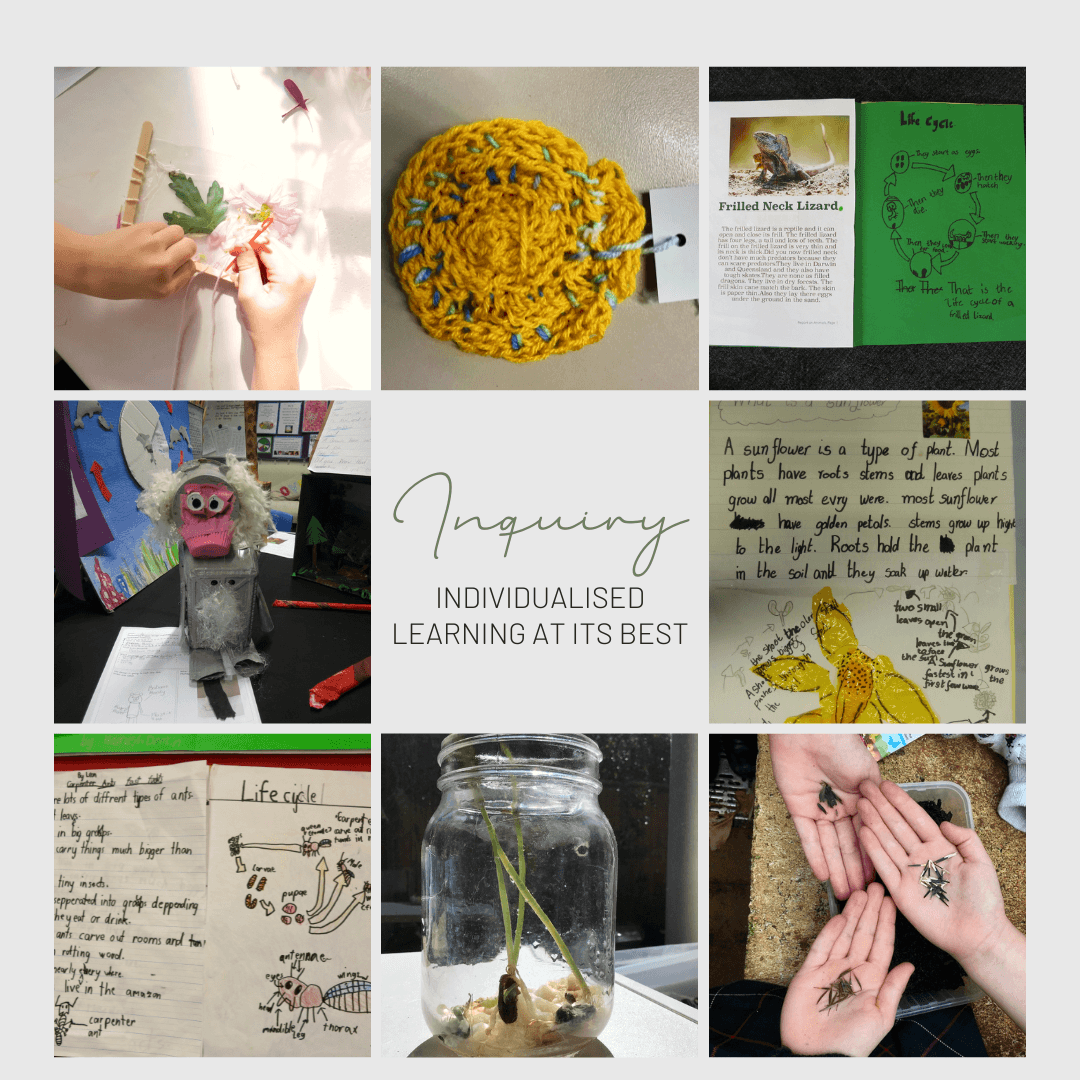
8. After sorting and organising the information, students now need to decide how they will present their learning. You may want everyone to write a report – although this can only be expected once students have learnt how to write a report. When you are just starting out, this whole process should be kept really simple and of course consider the age, skill level and ability of your students. During this stage students get creative.
They have choices as to how they would like to present the information. This is personalised learning at its best. Some students may want to create a poster, others may want to create a diorama, or a PowerPoint or even an iMovie. You will need to gage your students. You will have some that are completely independent learners and great with technology and they will independently do things that will blow your mind!
Others will need scaffolding and direction. At this stage I also show students images and examples of presentations done by children in previous years or even examples from the web. I also show students how to use digital software like PicCollage to create digital posters. This is a great app where children learn a variety of technological skills. https://piccollage.com/ By term three, I integrate art and technology into projects where students not only write reports on their chosen topic, but also create dioramas and sculptures ticking several boxes across four subject areas: English, Science, Technology and Art!
9. Sharing their learning is the next step. This is where oral language and presentation skills are integrated into the inquiry process. Once again using the example that you have been working on, demonstrate delivering an oral presentation making sure to include the relevant points from each sub section/ paragraph. Give students enough time to practise their presentations before delivering them. I usually record their presentations on Seesaw and share them with parents. This is also an excellent way to keep a record for reporting purposes.
10. Reflecting on learning is the final step. This is an opportunity for deep learning. In the same way that reflection helps teachers improve their practice, it also helps to deepen students’ learning and encourages students to take responsibility for their own learning.
Students can fill in a reflection sheet or respond orally (again record on Seesaw for your records) to consider what they did well, and areas for improvement.
Steps 5 to 10 will take several weeks. Some students will finish before others, and when they do, they will want to start another project! More ideas for this in some future post.
Inquiry learning ticks all the boxes for meeting curriculum outcomes.
This has been a long post where I have hopefully clearly set out the steps for successful inquiry teaching. There are only two goals for you and your students: to learn the process of investigation and inquiry and promote a love for learning (and teaching)!
The benefits of incorporating inquiry learning into your planning cannot be over emphasised.
Inquiry allows
* different learning areas to be integrated
* truly individualised learning which meets the needs and interests of individual students
* creative expression where students choose a presentation method to match their learning style or artistic skill.
* collaborative learning
* problem solving and higher order thinking as well as developing organisation skills etc. etc.
As you plan for the term ahead, plan for inquiry. Start slowly, maybe just one morning a week where the children work on their projects, then work it up to two mornings per week. In my own classroom, Investigation Time was on Thursday and Friday mornings from 9am to 10.30 am. During this time, I would give the lesson where I modelled, followed by the students working on their own projects.
Conclusion
For investigation and inquiry to be truly magical and effective you must be both organised and be ready to release your control. You need to trust the process and for the process to work like a well-oiled machine, you must ensure that you explicitly teach the skills required. Once students know exactly what they are required to do, they will take to it like ducks to water.
Just do it!
Listen 🎧 to the accompanying podcast episode at https://bloomingcurious.com/podcast-episode/ep-23-how-to-plan-for-and-integrate-inquiry-into-your-existing-lessons/
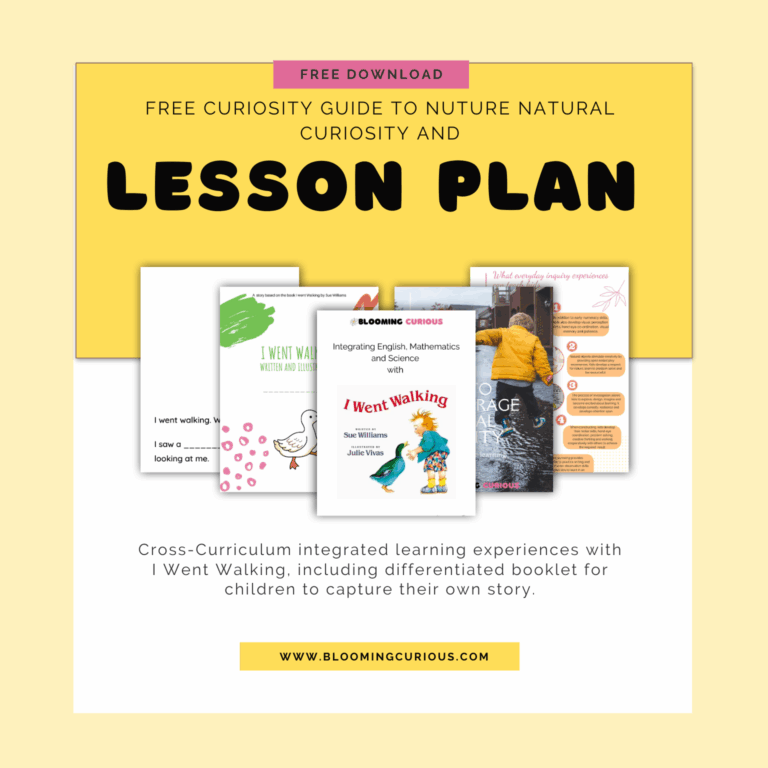
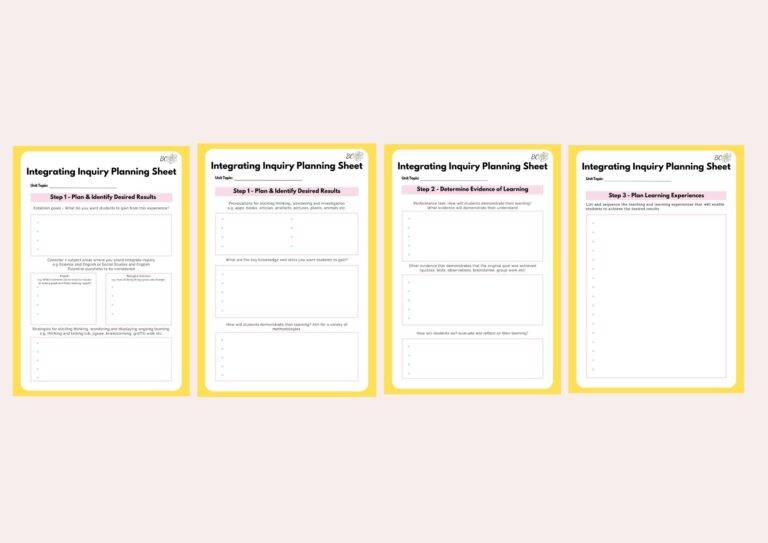
To help you get started, click on the images of the resources below – these are perfect to help you get organised and guide students with the inquiry process.
You will be amazed at the results you achieve, and the positive impact you will make on children’s lives. Good Luck!
Let me know how you get on and what other lessons you would like on my Facebook page.
If you have found this post informative or interesting, please share it using the share buttons below, and subscribe to Get Curious, the inspirational weekly newsletter below.
Great books to read on implementing inquiry-based learning
All educators need great books for inspiration and guidance. I’ve found these to be fantastic. So, if you want books that deepen your knowledge and understanding of how to implement inquiry and the benefits of inquiry than I can highly recommend these below. Click on the image to order your own copy now.
These are affiliate links which mean I earn a small commission at no extra cost to you.
